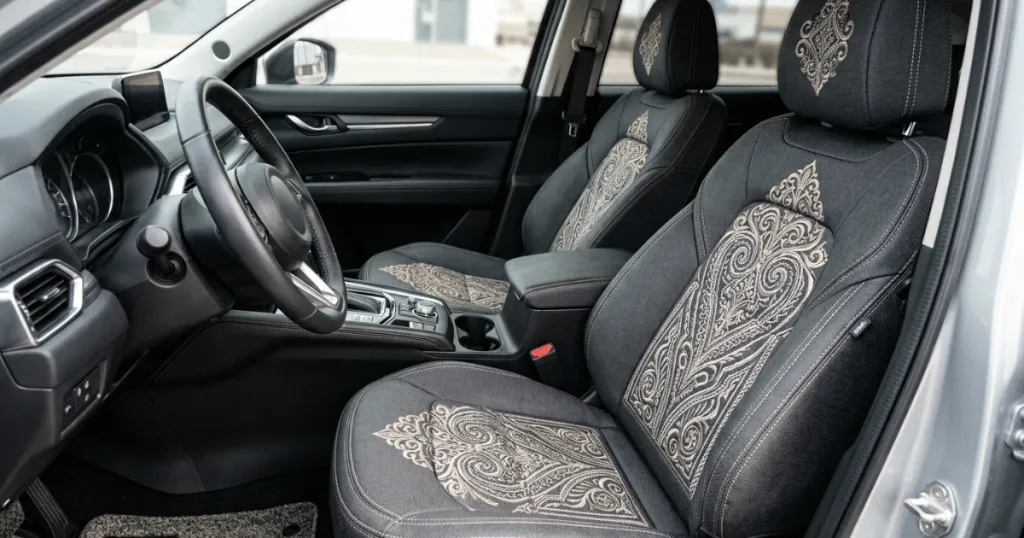
When you look at your vehicle’s interior, the seats often serve as the primary visual anchor. If the factory upholstery feels uninspired or has begun to show its age, adding an embroidered seat cover is a common way to introduce a personalized aesthetic without committing to a full reupholstery project. The goal is to elevate the cabin’s atmosphere while ensuring the added layer integrates naturally with the existing dashboard, door panels, and floor mats.
Achieving a cohesive look depends on how you balance the complexity of the embroidery with the overall color palette of your vehicle. A well-chosen design can bridge the gap between utility and luxury, turning a standard daily driver into a space that feels curated. However, the wrong choice can easily lead to a cluttered or overwhelming cabin environment, making the selection process a critical step in your interior refresh.
Material, Finish, and Pattern Considerations
Selecting the Right Base Fabric
The base material of your seat cover dictates how the embroidery will sit and how long it will last. Faux leather or PU leather provides a smooth, firm surface that allows for crisp, detailed stitching. Because these materials do not stretch or pill, the embroidery remains sharp over time, making them ideal for intricate logos or geometric patterns. In contrast, heavy-duty canvas or neoprene offers a more rugged, tactical aesthetic. Embroidery on these thicker fabrics often appears bolder and more textured, which works well for off-road or work-truck settings where a refined, delicate stitch might look out of place.
The Role of Stitching and Thread Density
Thread density is the hidden factor that determines the longevity of your design. High-density embroidery, where the stitches are packed closely together, creates a solid, vibrant image that resists snagging. This is essential for high-traffic areas like the seat bolster or the center of the backrest. Lower-density designs might look elegant, but they are prone to catching on clothing buttons or seatbelt hardware. When choosing a design, prioritize patterns that use reinforced backing, as this prevents the fabric from puckering around the embroidery during daily use.
Pattern Scale and Visual Balance
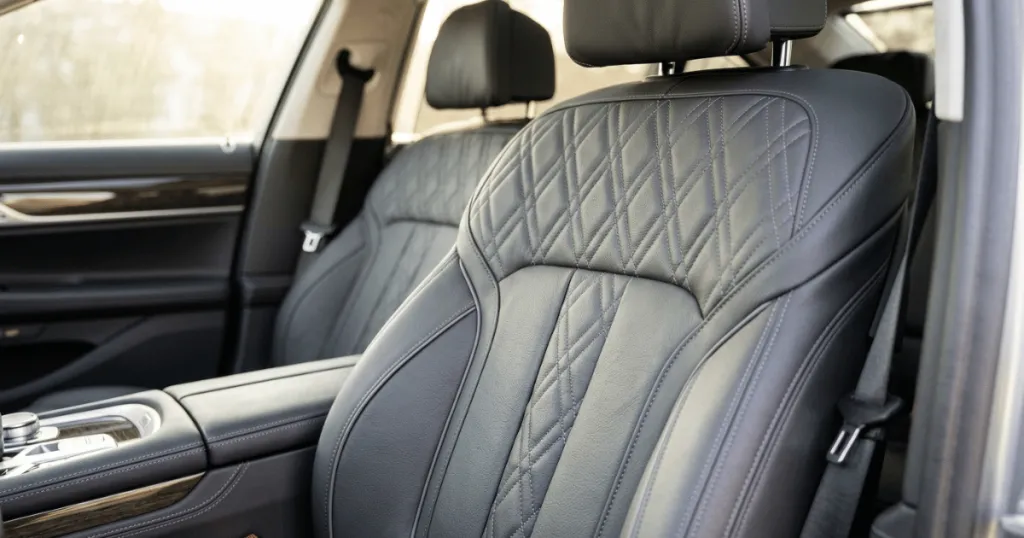
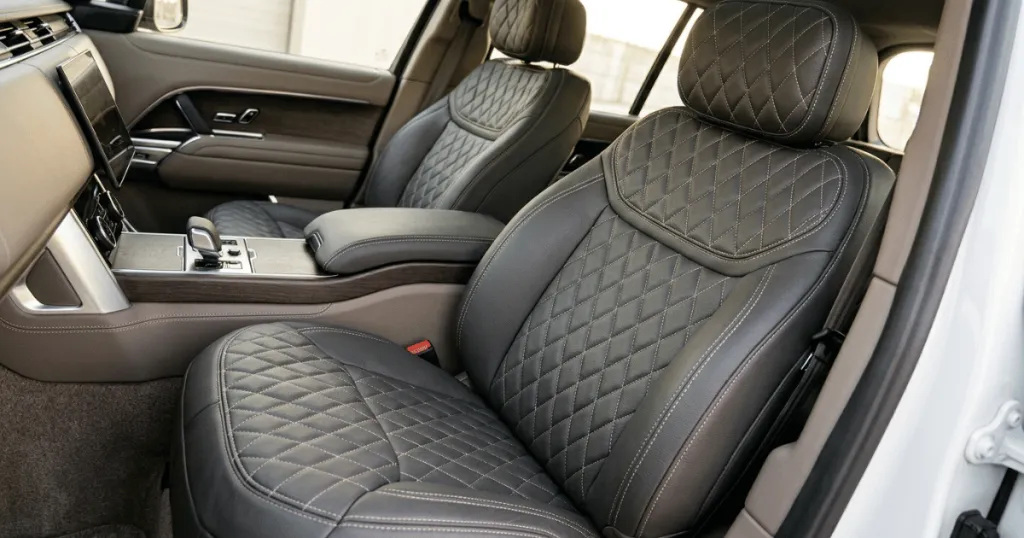
Scale matters significantly when working with an embroidered car seat cover. A large, complex design across the entire seat back can dominate the interior, making the cabin feel smaller or busier than it actually is. For most vehicles, a subtle, localized pattern, such as a monogram on the headrest or a repeating diamond-stitch motif on the seat insert, provides a more sophisticated look. If you prefer a bolder statement, limit the embroidery to the seat shoulders or the lower lumbar support area to maintain a sense of visual breathing room.
Styling and Color Coordination Strategies
Matching Interior Color Palettes
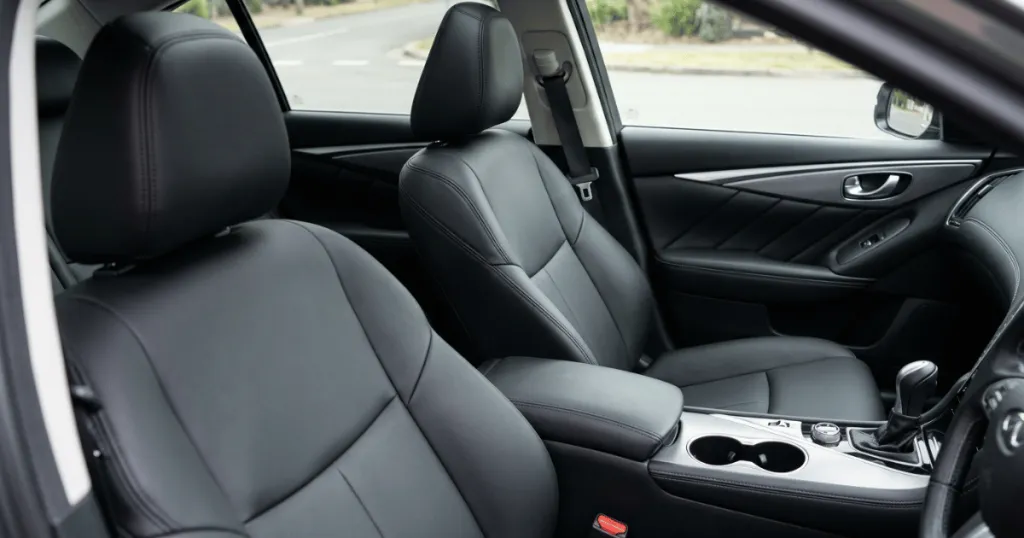
The most successful interior modifications rely on a limited color palette. If your vehicle has a dark grey or black interior, an embroidered seat cover with silver or white thread creates a clean, high-contrast look that mimics premium factory options. For those with tan or beige interiors, consider thread colors in complementary earth tones like bronze, dark brown, or even a deep forest green. Avoid using high-contrast, neon-colored threads unless you are specifically aiming for a racing or high-energy aesthetic, as these can clash with the more muted tones found in most vehicle dashboards.
Integrating Textures and Finishes
Think about how the embroidery finish interacts with the texture of your seats. If your seats are perforated, avoid placing large, solid-fill embroidery over the holes, as this can trap moisture and debris. Instead, opt for outline-style embroidery that frames the perforated sections. For smooth leather or vinyl seats, a quilted pattern with embroidered accents creates a luxurious, high-end feel. The key is to ensure the texture of the thread doesn’t fight against the texture of the seat material; if the seat is matte, a subtle, matte-finish thread often looks more intentional than a high-gloss, metallic thread.
Avoiding Interior Clutter
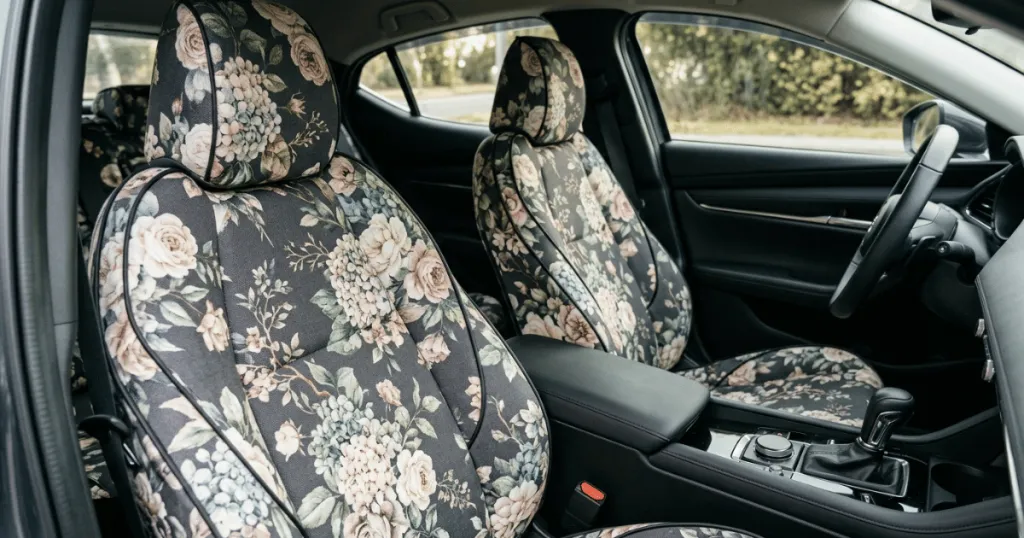
A common mistake is over-accessorizing. If you have already installed patterned floor mats or colorful steering wheel covers, an elaborate embroidered seat cover may push the interior toward visual chaos. In these cases, choose a minimalist, monochromatic embroidery design that adds texture without adding another competing color. If your interior is otherwise stock and neutral, you have more freedom to experiment with larger, more intricate patterns, but always check that the design doesn’t interfere with the natural lines of the seat’s stitching or seams.
Use-Case Scenarios for Custom Interiors
Daily Drivers and Commuter Vehicles
For a vehicle used primarily for commuting, comfort and ease of maintenance are paramount. An embroidered seat cover in this setting should feature durable, stain-resistant materials like high-grade synthetic leather. Keep the embroidery simple, perhaps a small, tasteful logo or a subtle pattern on the headrest, to ensure it doesn’t become a distraction during long hours in traffic. Focus on designs that are easy to wipe down, as daily wear and tear from work bags and clothing can quickly accumulate on complex, textured surfaces.
Family and Passenger-Heavy Vehicles
Family vehicles face unique challenges, including spills, crumbs, and constant movement. In these scenarios, avoid delicate embroidery that could be damaged by child car seats or heavy foot traffic. Instead, look for durable, flat-stitch embroidery that is integrated into the seat back rather than the seat cushion. This keeps the design visible for passengers while protecting it from the direct impact of heavy use. Darker base fabrics with tone-on-tone embroidery are particularly effective here, as they hide minor stains while still providing a custom, finished appearance.
Work Trucks and Off-Road Enthusiast Vehicles
Work trucks benefit from rugged, high-contrast embroidery that stands up to heavy-duty use. Canvas or heavy-denim covers are excellent choices, as they provide a sturdy foundation for thicker, more durable thread. For off-roaders, consider designs that incorporate functional elements, such as embroidered MOLLE-style webbing or reinforced zones. These designs look purposeful and aggressive, fitting the aesthetic of the vehicle while providing genuine utility. In these cases, the embroidery serves as a badge of the vehicle’s capability rather than just a decorative choice.
Practical Maintenance for Embroidered Surfaces
Because embroidery creates raised surfaces, it can act as a trap for dust, lint, and fine debris, requiring more focused attention than flat upholstery. Use a soft-bristled brush or a vacuum attachment with a fabric-safe nozzle to gently clear the crevices around the stitching. Avoid using harsh chemical cleaners directly on the embroidery, as these can cause the threads to fray or lose their color over time. Instead, use a mild, pH-neutral soap solution applied to a microfiber cloth to dab the area clean.
If you notice a loose thread, do not pull it, as this can unravel the entire design. Use a pair of small, sharp embroidery scissors to carefully trim the stray thread flush with the fabric. If the embroidery is in a high-friction zone, such as the side bolster, check it periodically for signs of wear. If you see the stitches beginning to thin, it is often better to treat the area with a fabric protector spray to add a layer of defense against further abrasion. By keeping the embroidery clean and addressing minor snags early, you can ensure your custom interior remains in good condition for years to come.
Common Styling Mistakes and How to Fix Them
One of the most frequent oversights involves selecting an embroidered design that exceeds the physical dimensions of the seat panels. If the embroidery wraps around a curve or a seam, it will inevitably distort, making the design look poorly fitted. Always measure the flat surface area of your seat insert before selecting a pattern. If you find your chosen design is too large, look for a modular version of the same pattern that allows you to place smaller, individual elements where they fit best.
Another common issue is color mismatching. A thread color that looks perfect under store lighting might appear completely different in the sunlight of your car cabin. Before committing to a full set, try to obtain a swatch or a small sample of the thread against your actual seat material. If the colors don’t align, prioritize the thread color that matches the vehicle’s secondary trim, such as the stitching on the steering wheel or the piping on the door cards. This creates a subtle, professional connection that makes the modification look like a factory-installed upgrade.
FAQ
Can I install an embroidered seat cover on seats with side-impact airbags?
Most reputable manufacturers design covers with specific cutouts or break-away seams to accommodate side-impact airbags. Always verify that your chosen embroidered seat cover is explicitly tested and rated for your specific vehicle’s airbag configuration before installation.
Does embroidery affect the comfort of the seat?
High-quality, flat-stitch embroidery is generally imperceptible to the driver. However, very dense or raised embroidery patterns placed directly on the seat cushion can become uncomfortable over long periods. For maximum comfort, choose embroidery designs located on the seat back or headrest rather than the seating surface.
How do I clean embroidery without damaging the threads?
Use a soft-bristled brush to remove dust and a damp microfiber cloth with mild, pH-neutral soap for spot cleaning. Avoid aggressive scrubbing or harsh chemical cleaners, as these can cause the threads to fray or fade. Always test your cleaning solution on an inconspicuous area of the cover first.